Simple steps. Better service.

From setting up to welcoming guests

Set up your venue, share your QR codes or booking link, and manage service from one dashboard. Here’s how TableSewa fits into your day.

No app download

Guests use their own phones

Easy to share

QR codes and booking links

Get your venue ready

  1. Choose your service

    Start with table ordering or reservations from our pricing page, then create your owner account. You can add the second service from your dashboard.

  2. Set up your venue

    Add your venue details and branding. Build your menu and QR tables for ordering, or configure bookable tables and opening times for reservations.

  3. Get ready for guests

    Connect Stripe to accept order payments or booking deposits. Put your QR codes on tables, or enable online bookings and share your reservation link.

How it works

Two simple ways to serve your guests better

Whether they are ordering at the table or booking a visit, TableSewa keeps every step clear and easy.

Table Ordering

From scan to satisfied

A smooth ordering experience for your guests and your team.

  1. 1

    Scan and browse

    Guests scan the QR code at their table to open your branded menu. They can browse dishes, photos, prices and dietary information without downloading an app.

  2. 2

    Choose and pay

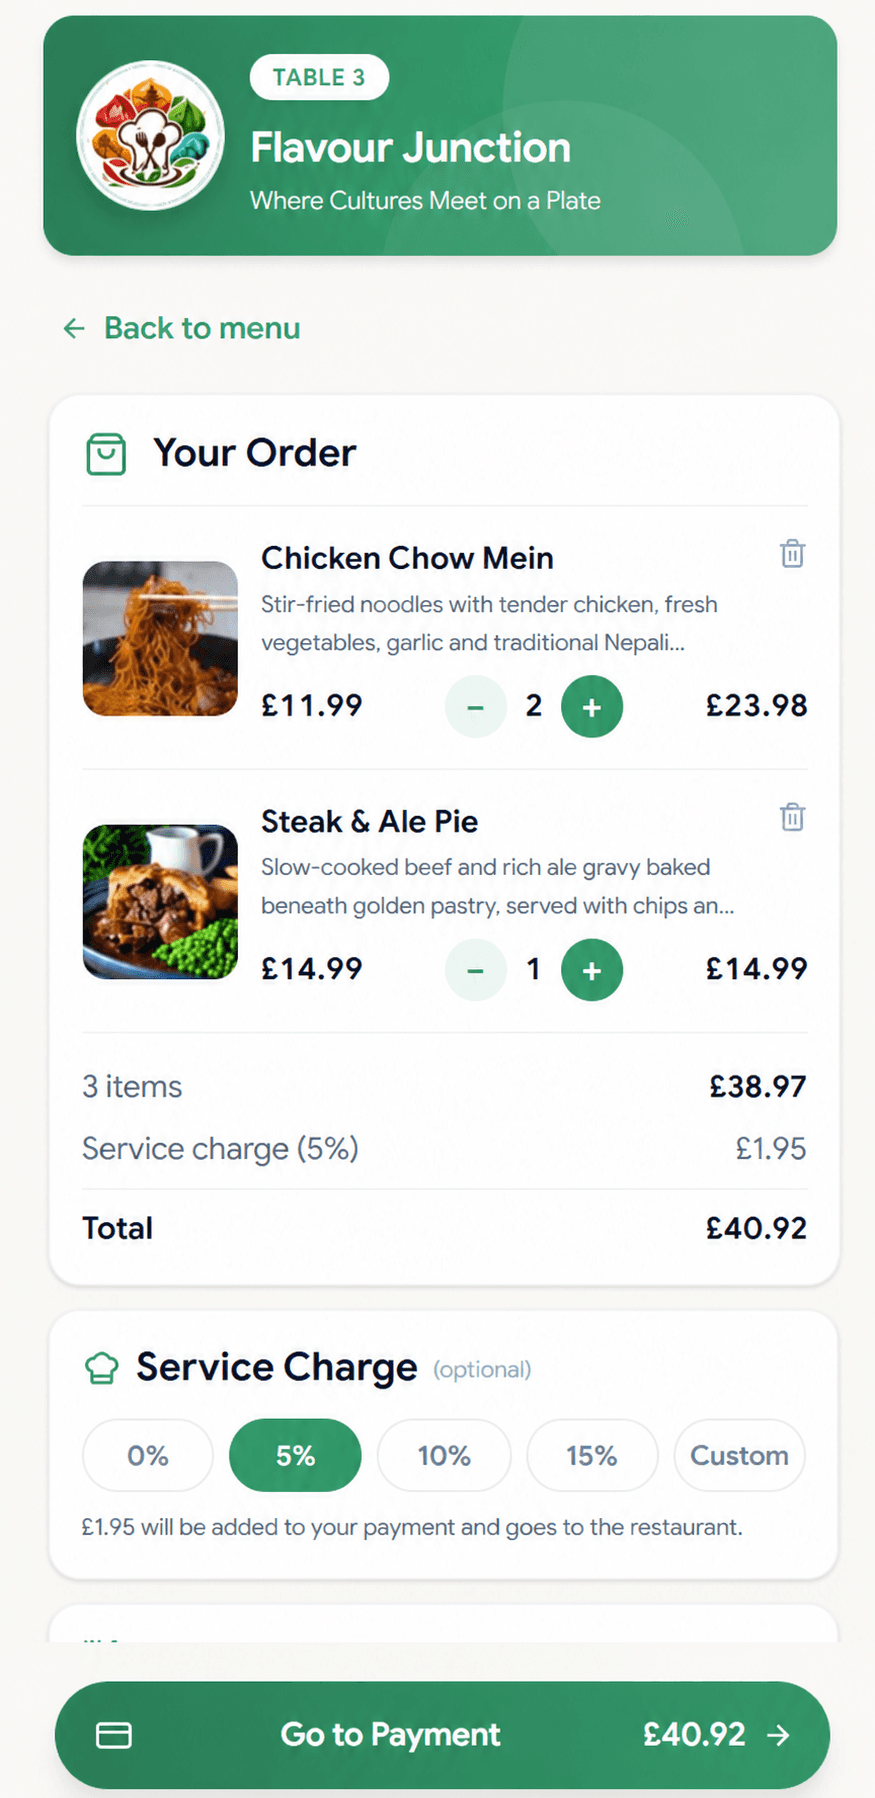
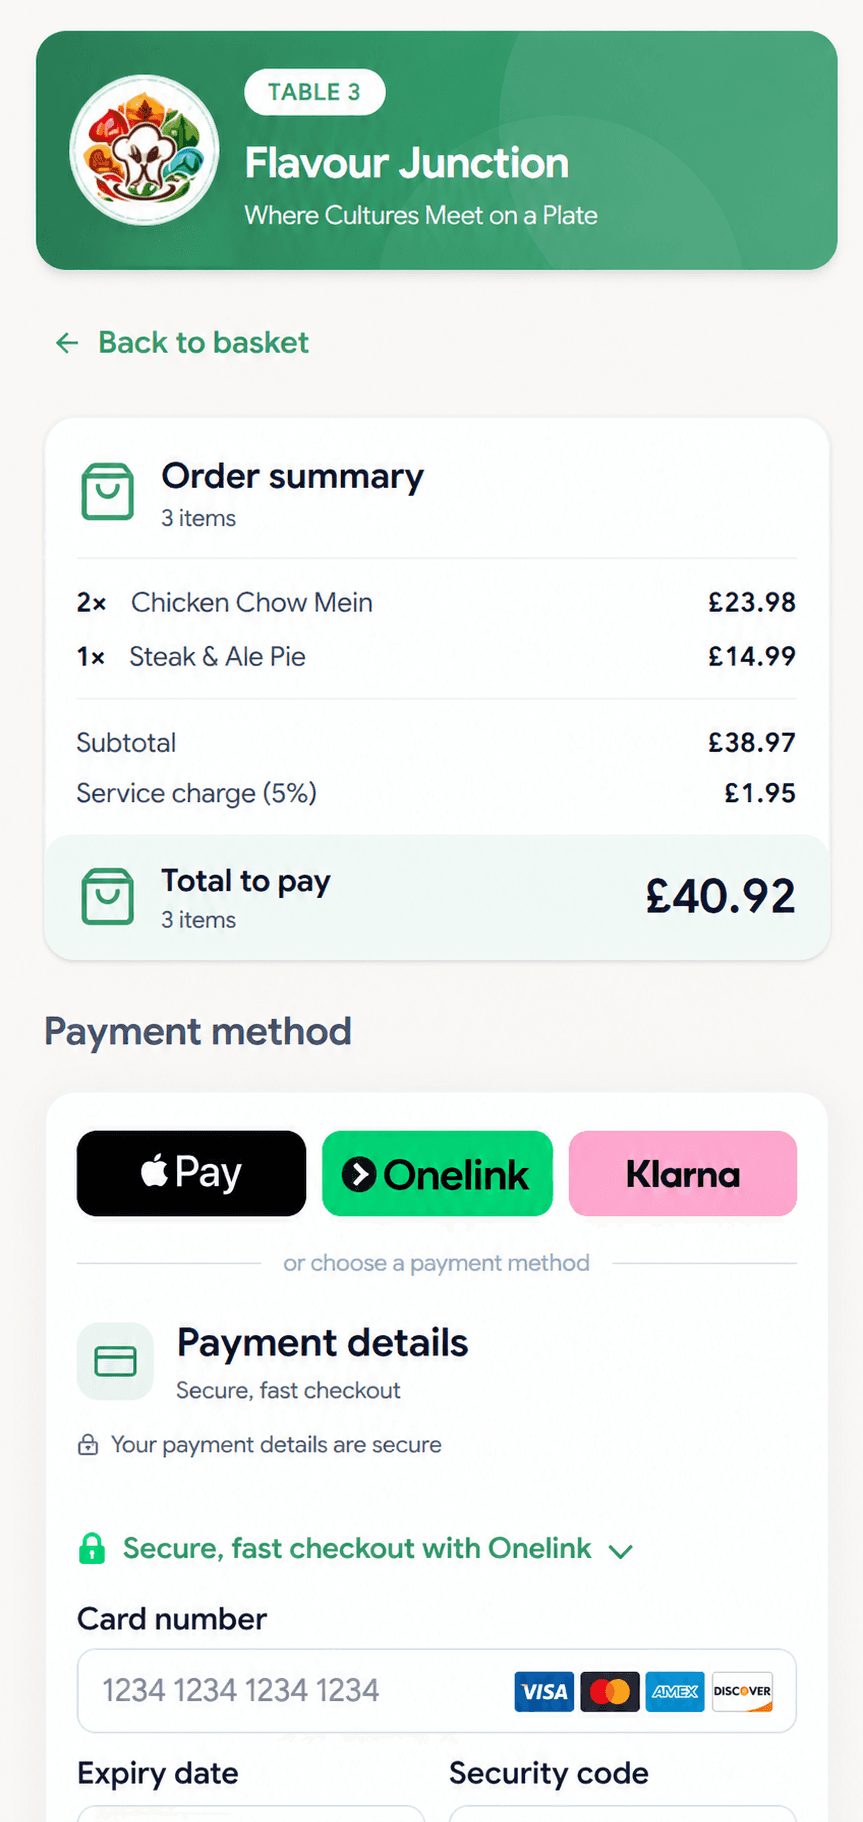
    Guests add items to their basket, include notes and choose an optional service charge. They pay securely through Stripe by card or a supported wallet.

  3. 3

    Prepare the order

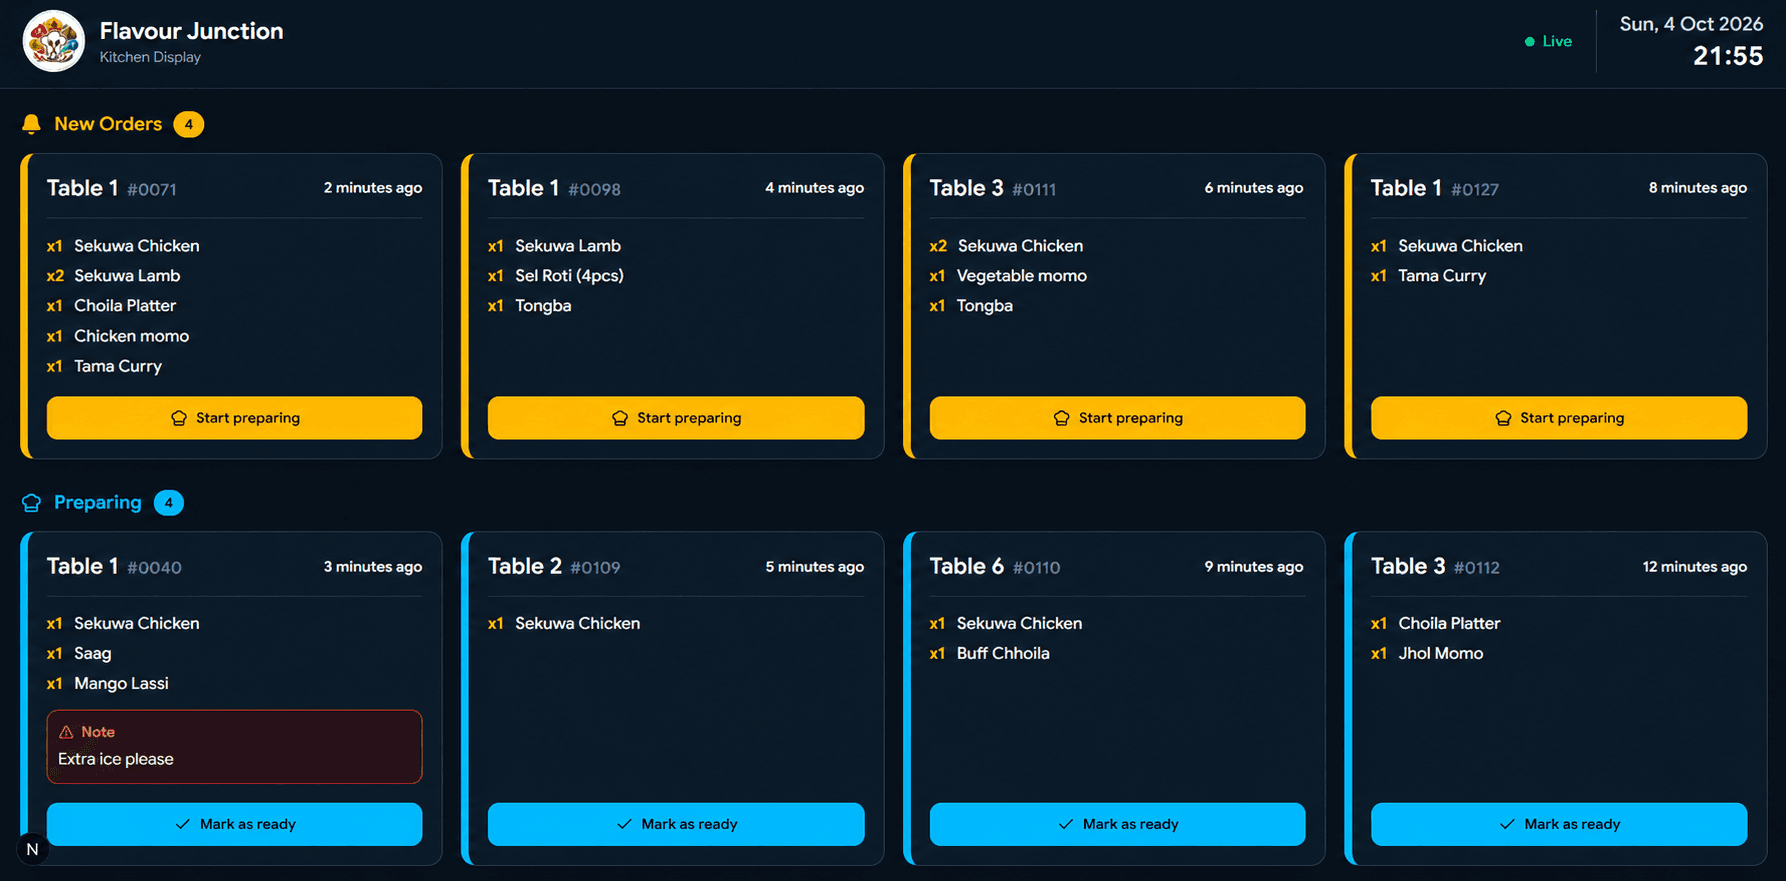
    Paid orders appear on your kitchen and reception displays with the table number and order notes. Staff mark orders as preparing and ready.

  4. 4

    Serve and keep track

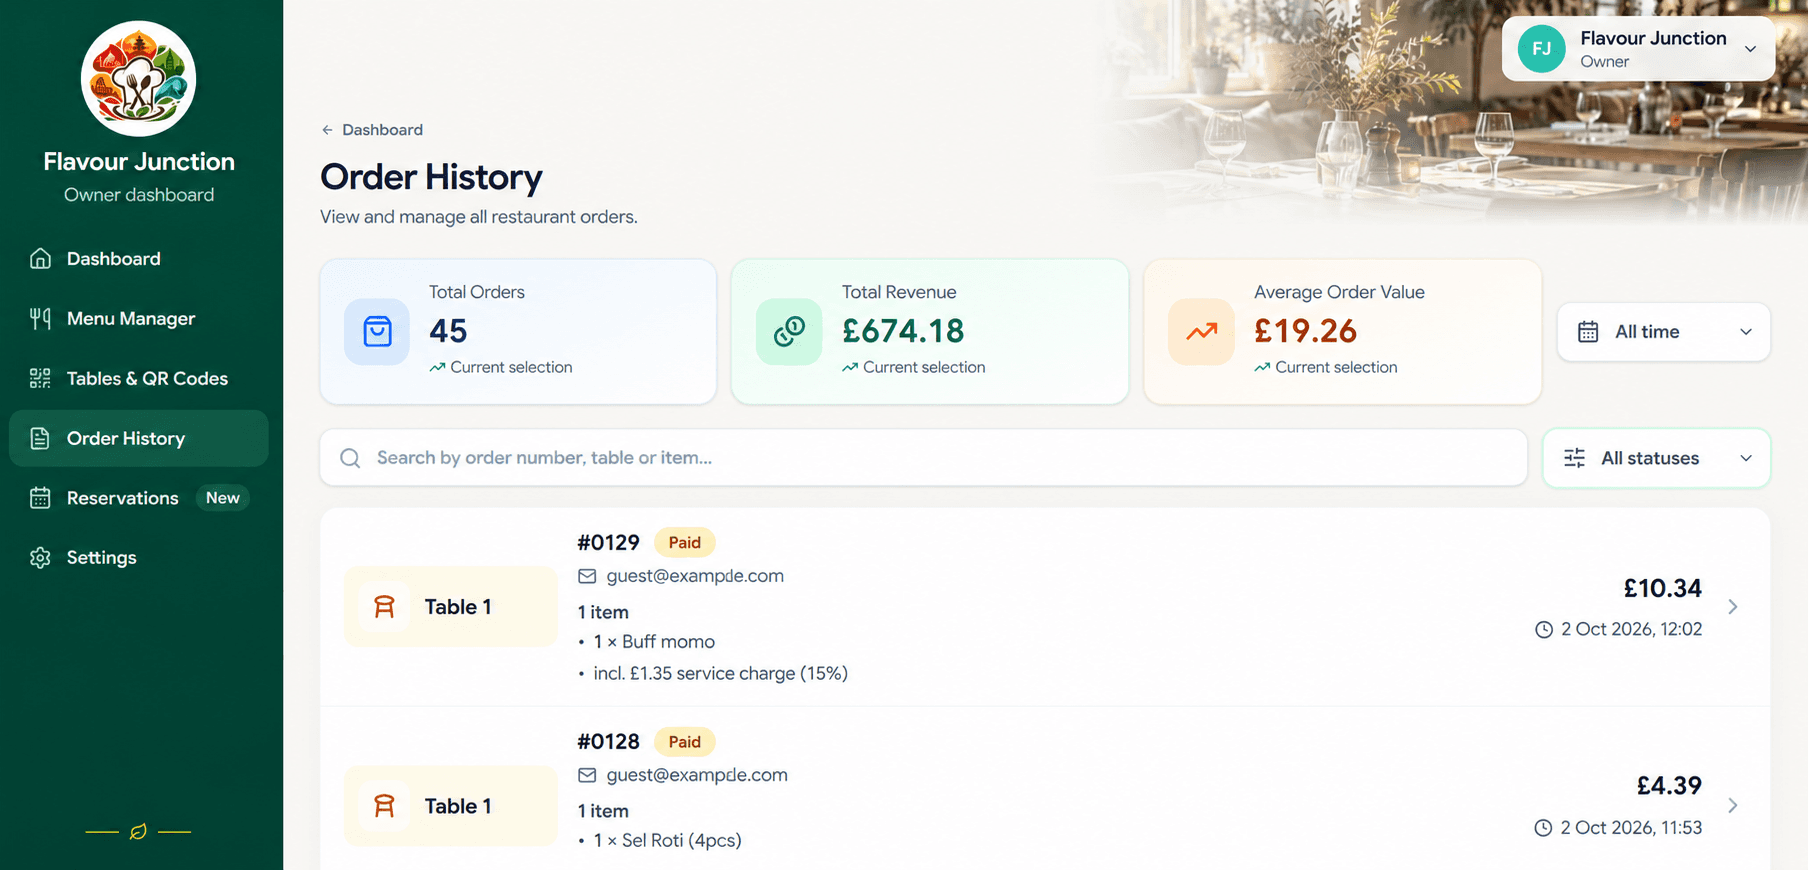
    Your team serves the table and completes the order. Guests can follow its status on their confirmation page, and you can review it in your order history.
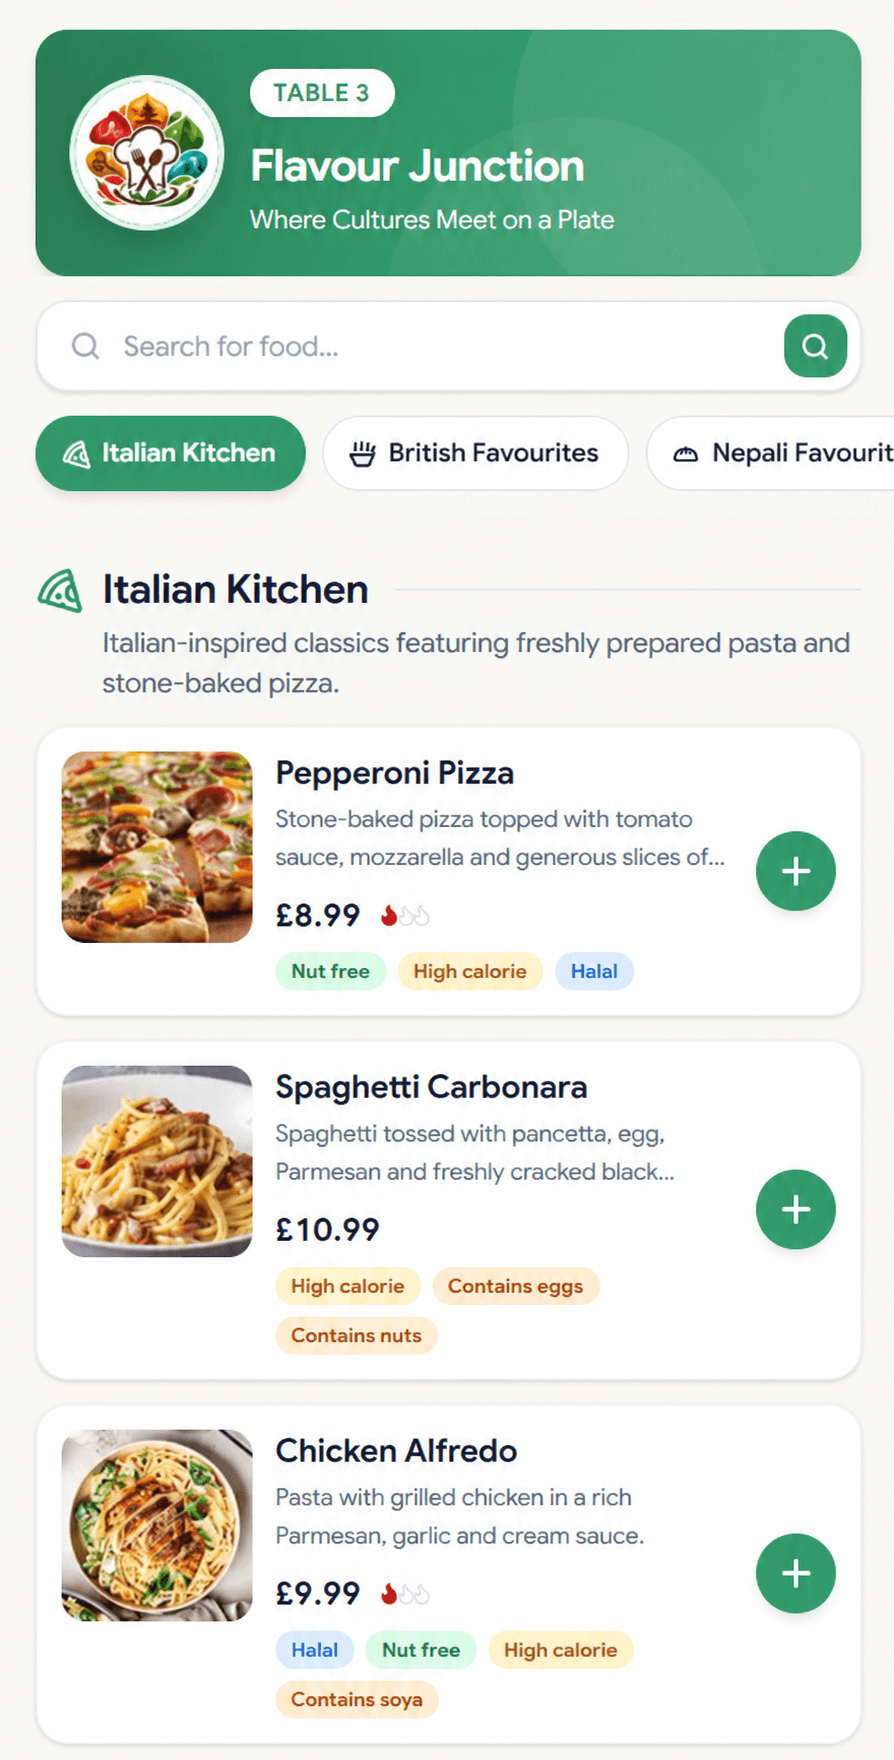

Table Reservations

From booking to brilliant

Make it easy for guests to reserve their perfect table.

  1. 1

    Open your booking page

    Guests follow your reservation link, choose a booking type, date and party size, and see available times based on your booking settings and table capacities.

  2. 2

    Add booking details

    Guests enter their contact details and any special requests. If you require a deposit, they pay securely through Stripe to complete the booking.

  3. 3

    Receive confirmation

    Free bookings confirm immediately; deposit bookings confirm after payment. Guests receive a confirmation email with the details of their visit.

  4. 4

    Manage the visit

    Your dashboard shows upcoming bookings and guest requests. You can update their status, reschedule a confirmed booking or cancel it when plans change.

Ready to get started?

Choose the service that fits your venue, or contact us for help.